I came home from my first year of college to a big problem, a small amount of storage to hold a large amount of clothes. I am still questioning how I accumulated so many clothes during college..but apparently my shopaholic habits didn’t stop despite the “no money” factor. My closet has built in shelving that doesn’t work for anyone that actually has a variety of clothes. It is dysfunctional to say the least. So…with boxes of clothes piled in and outside my room, my mom was getting on my case to clean it up. A dresser seemed to be the only solution I could come up with.
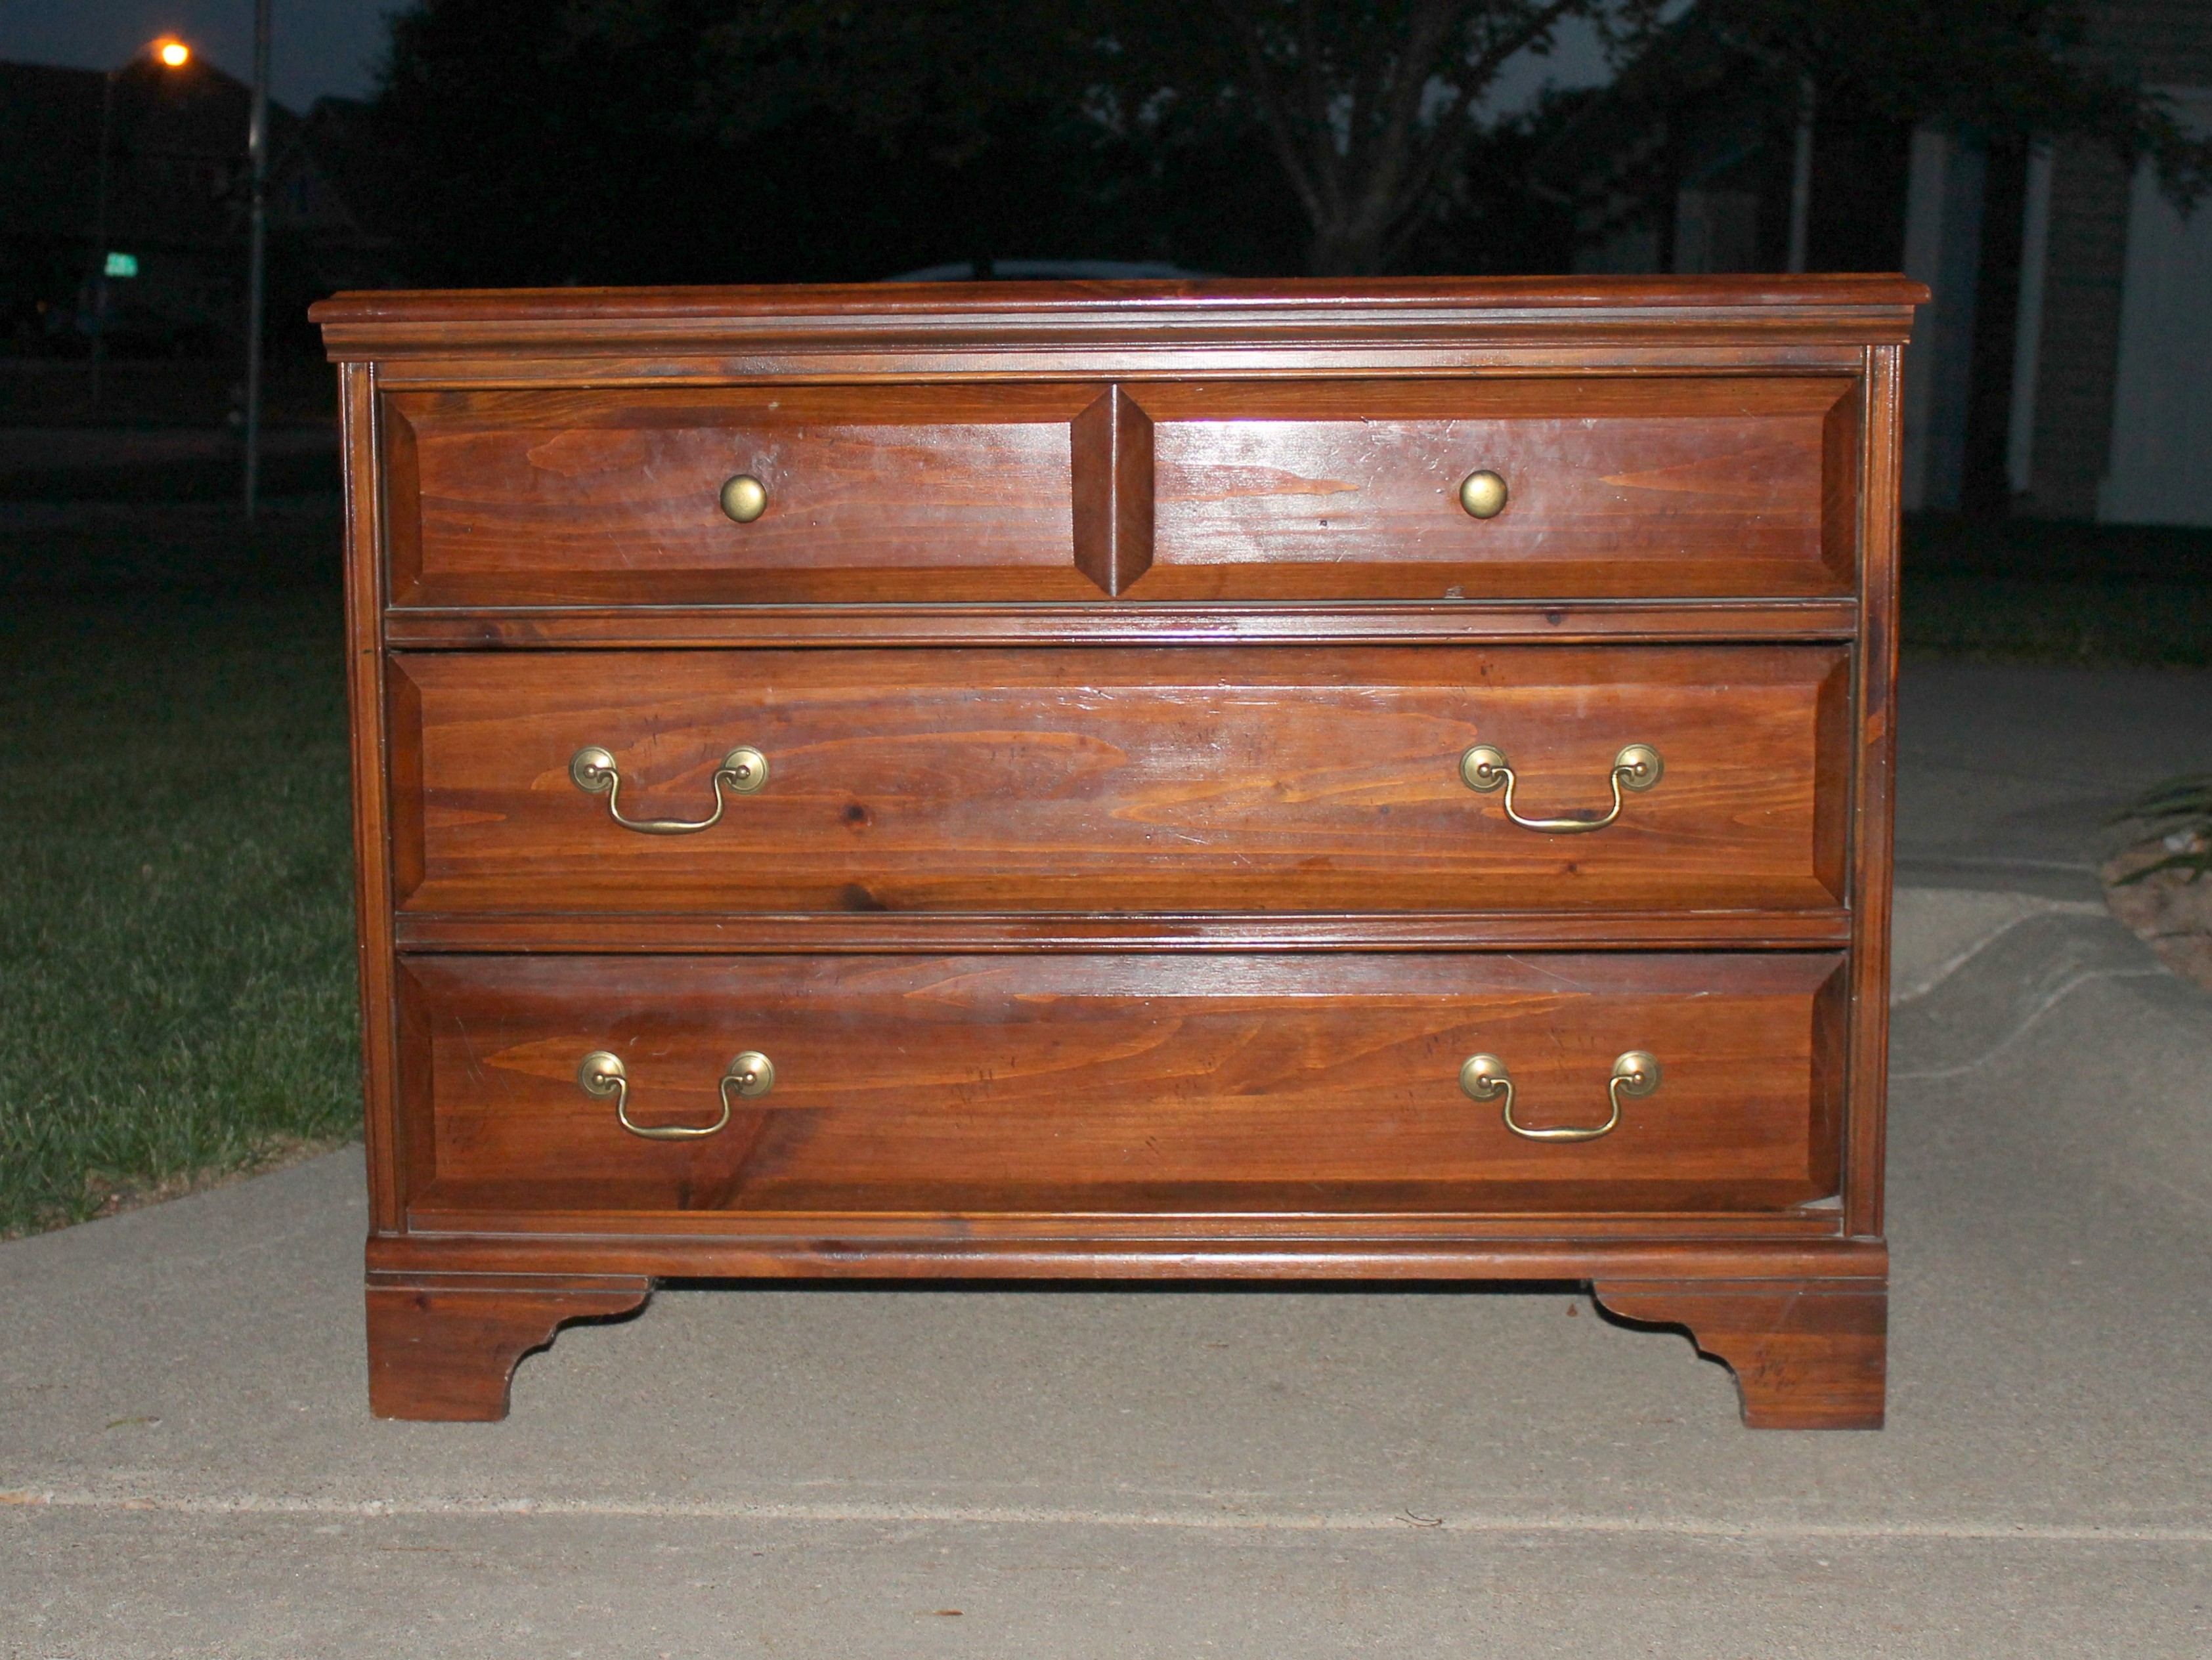
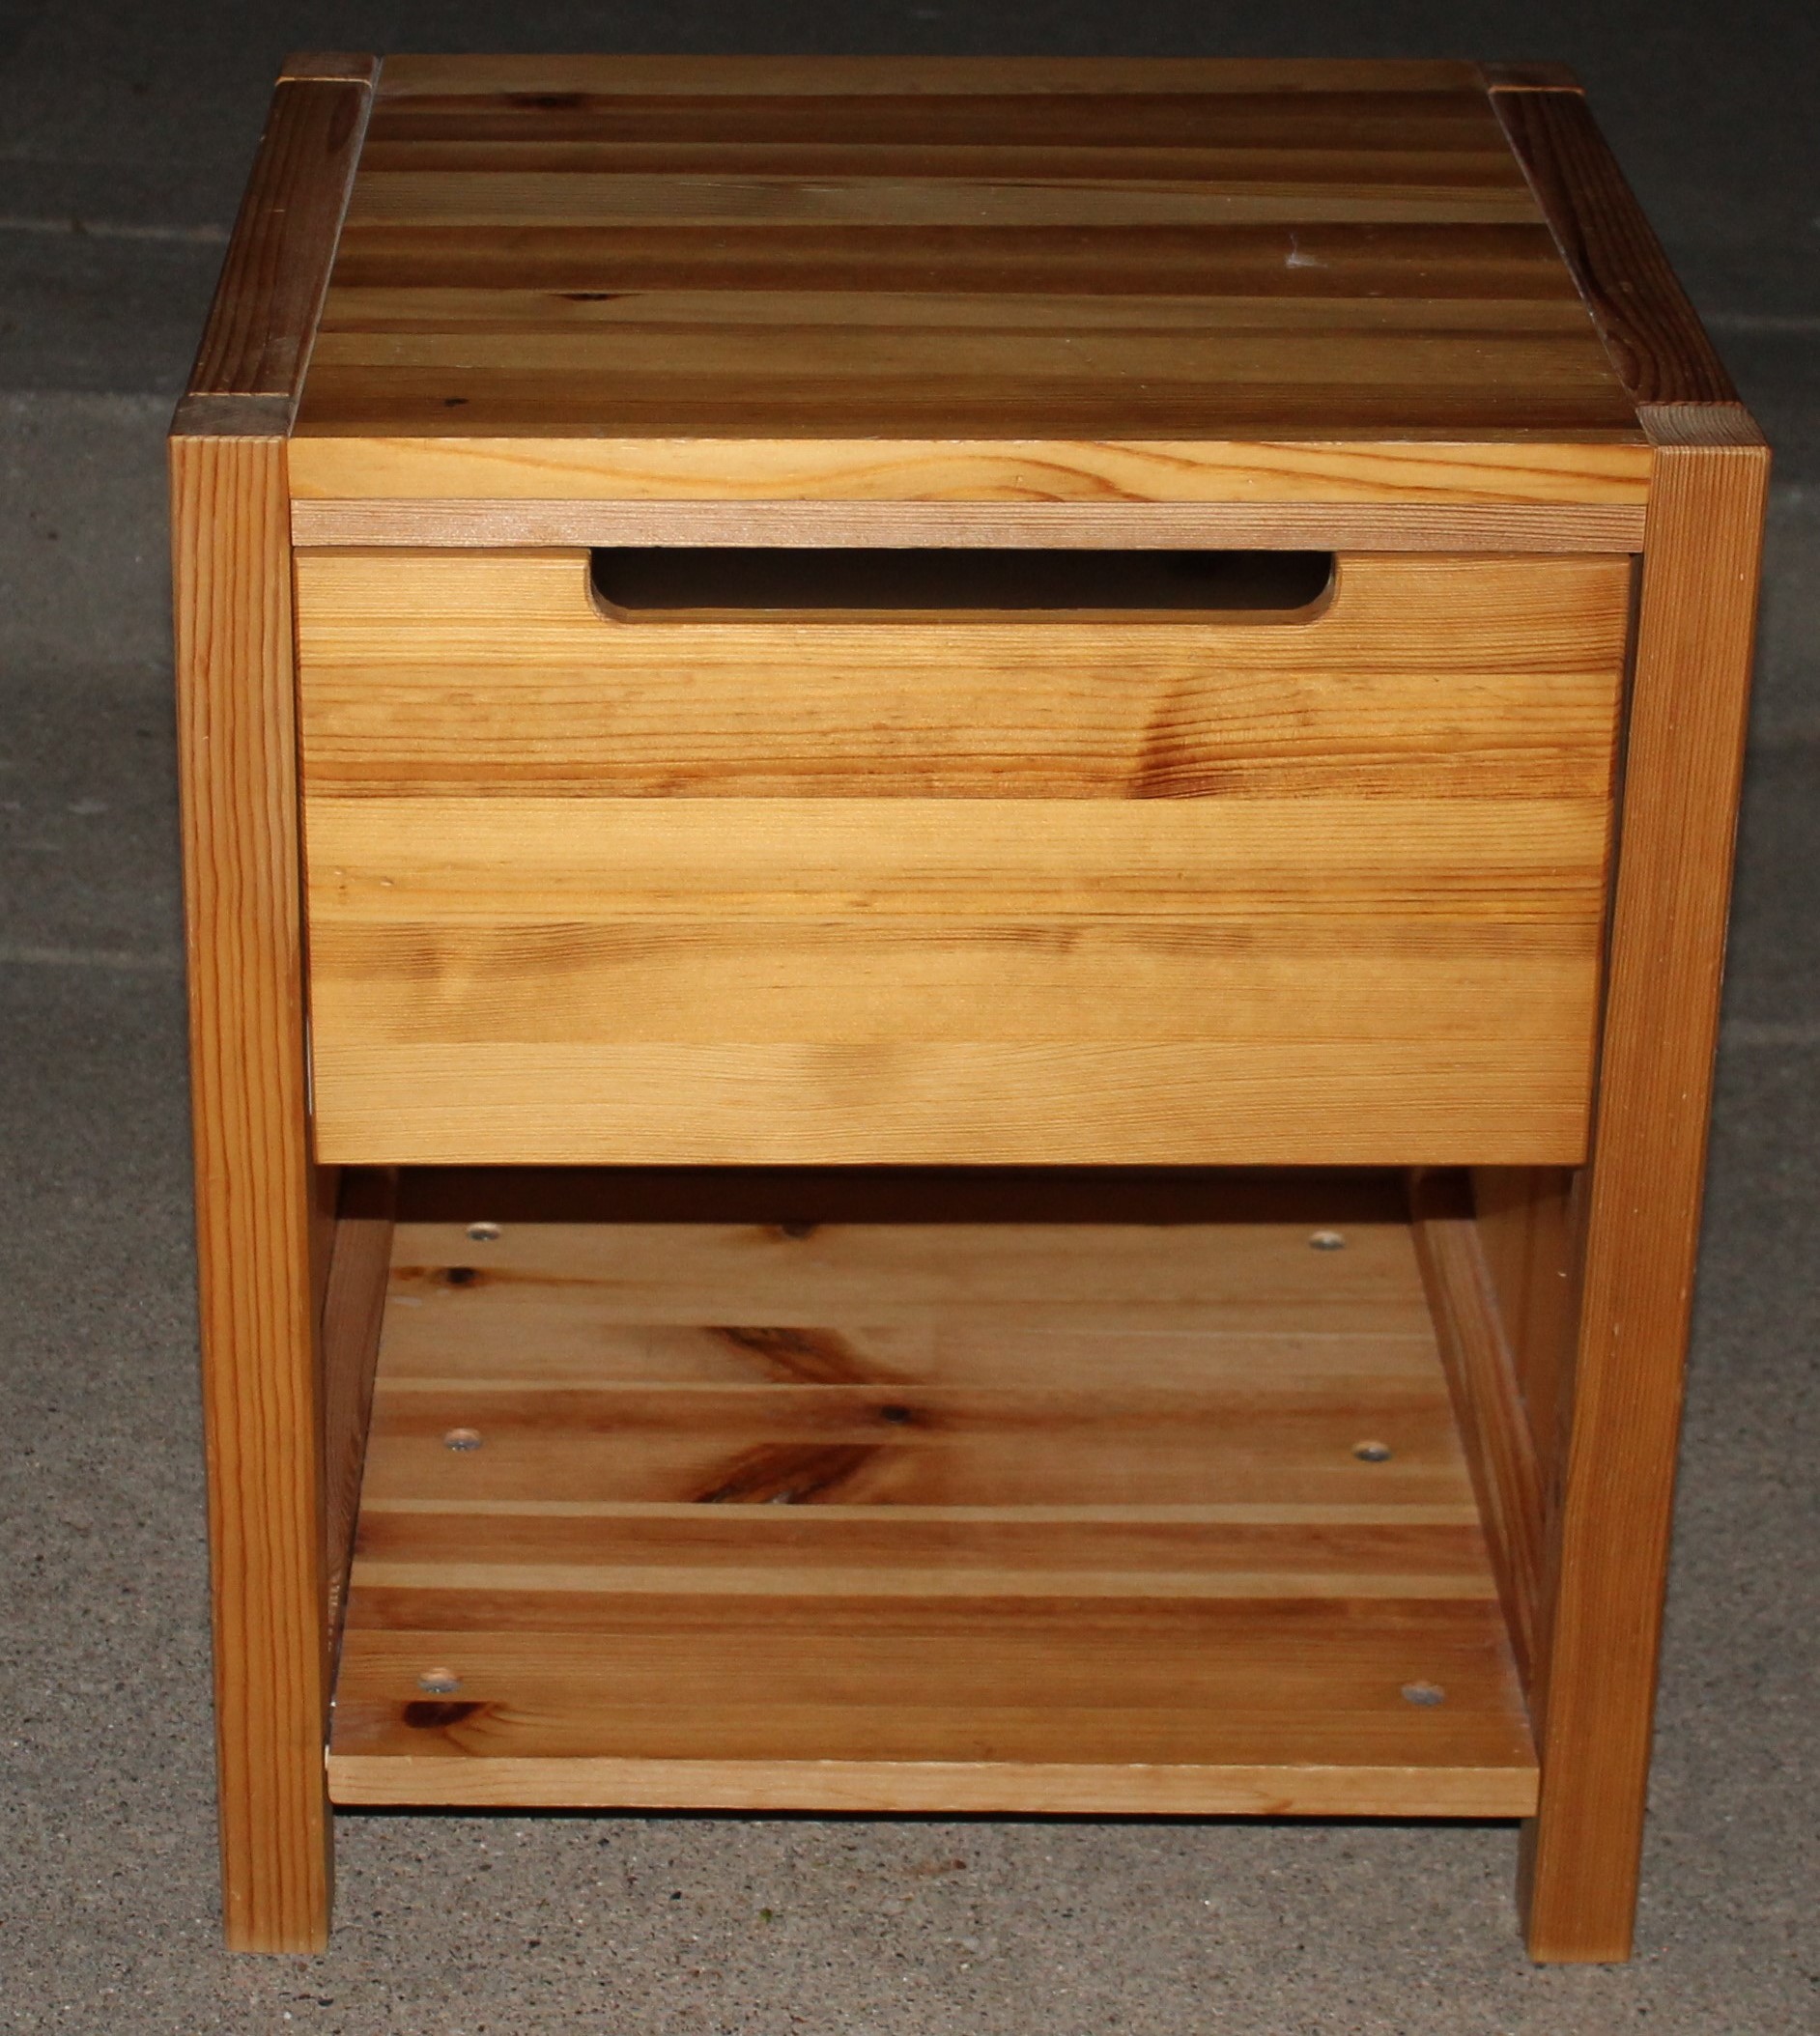
Chance to DIY and use Pinterest?! YES. I turned to Craigslist and fell in love with so many that I could see myself restoring. I ended up with this baby…for $40, and why have a dresser that doesn’t match the other furniture in the room, so throw in painting the nightstand while I’m at it!
I grabbed ideas from Pinterest and decided that I wanted the white rustic distressed look for my new (to me) dresser. I researched online how to distress and came up with a lot of results recommending to use “chalk paint”. No sanding, or prep beforehand and all the projects I saw turned out amazing. So I set out to find some, only to become shell shocked by the price tag. $30 for a little 8 oz. can..yes 8 ounces. I ended up googling other options and found that I could use a regular flat paint and it distresses just the same. I was skeptical but decided to try it.
Habitat for Humanity: Re-Store is a DIY dream come true (for photographers as well). I found a gallon of white flat paint for $7 and a black for the top of the dresser for $5. They also have sample paints for 50 cents which I chose a few for the outside of the drawers.
Enough talking… how to:
My dresser and nightstand were both made of laminate or particle board, so no sanding for me. Primer however, was a must.


I let it dry overnight and painted my flat paint the next day.
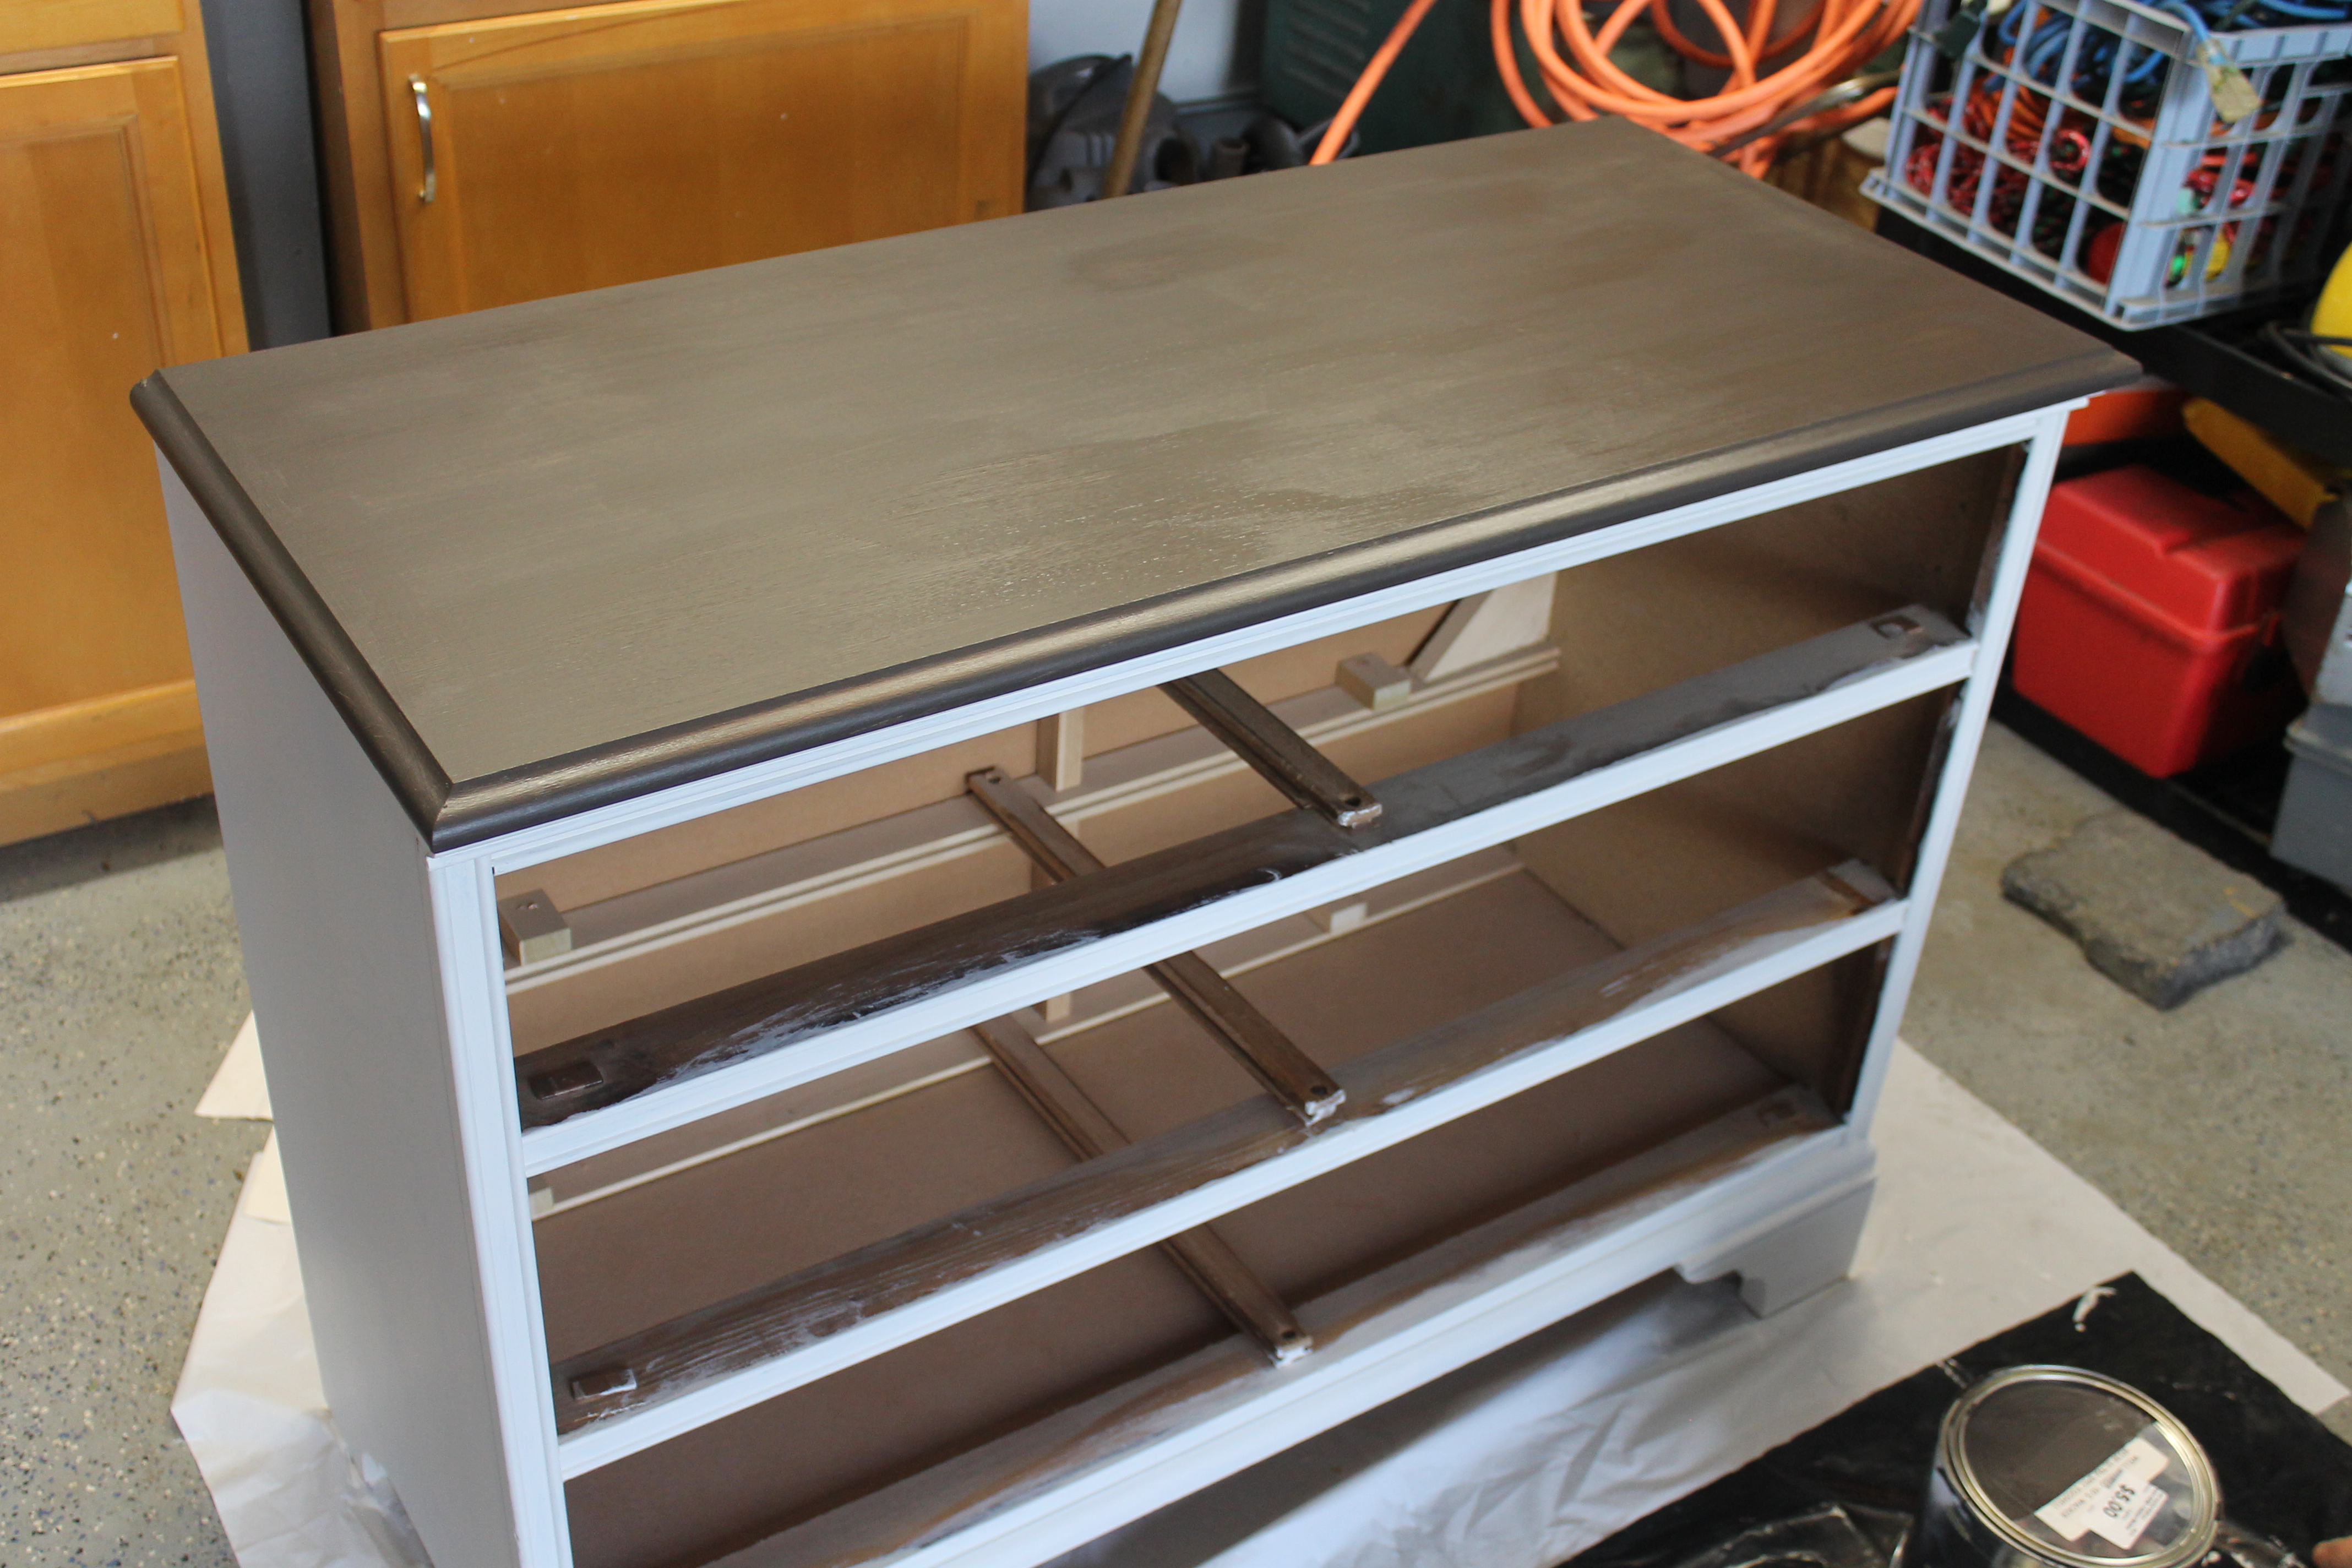
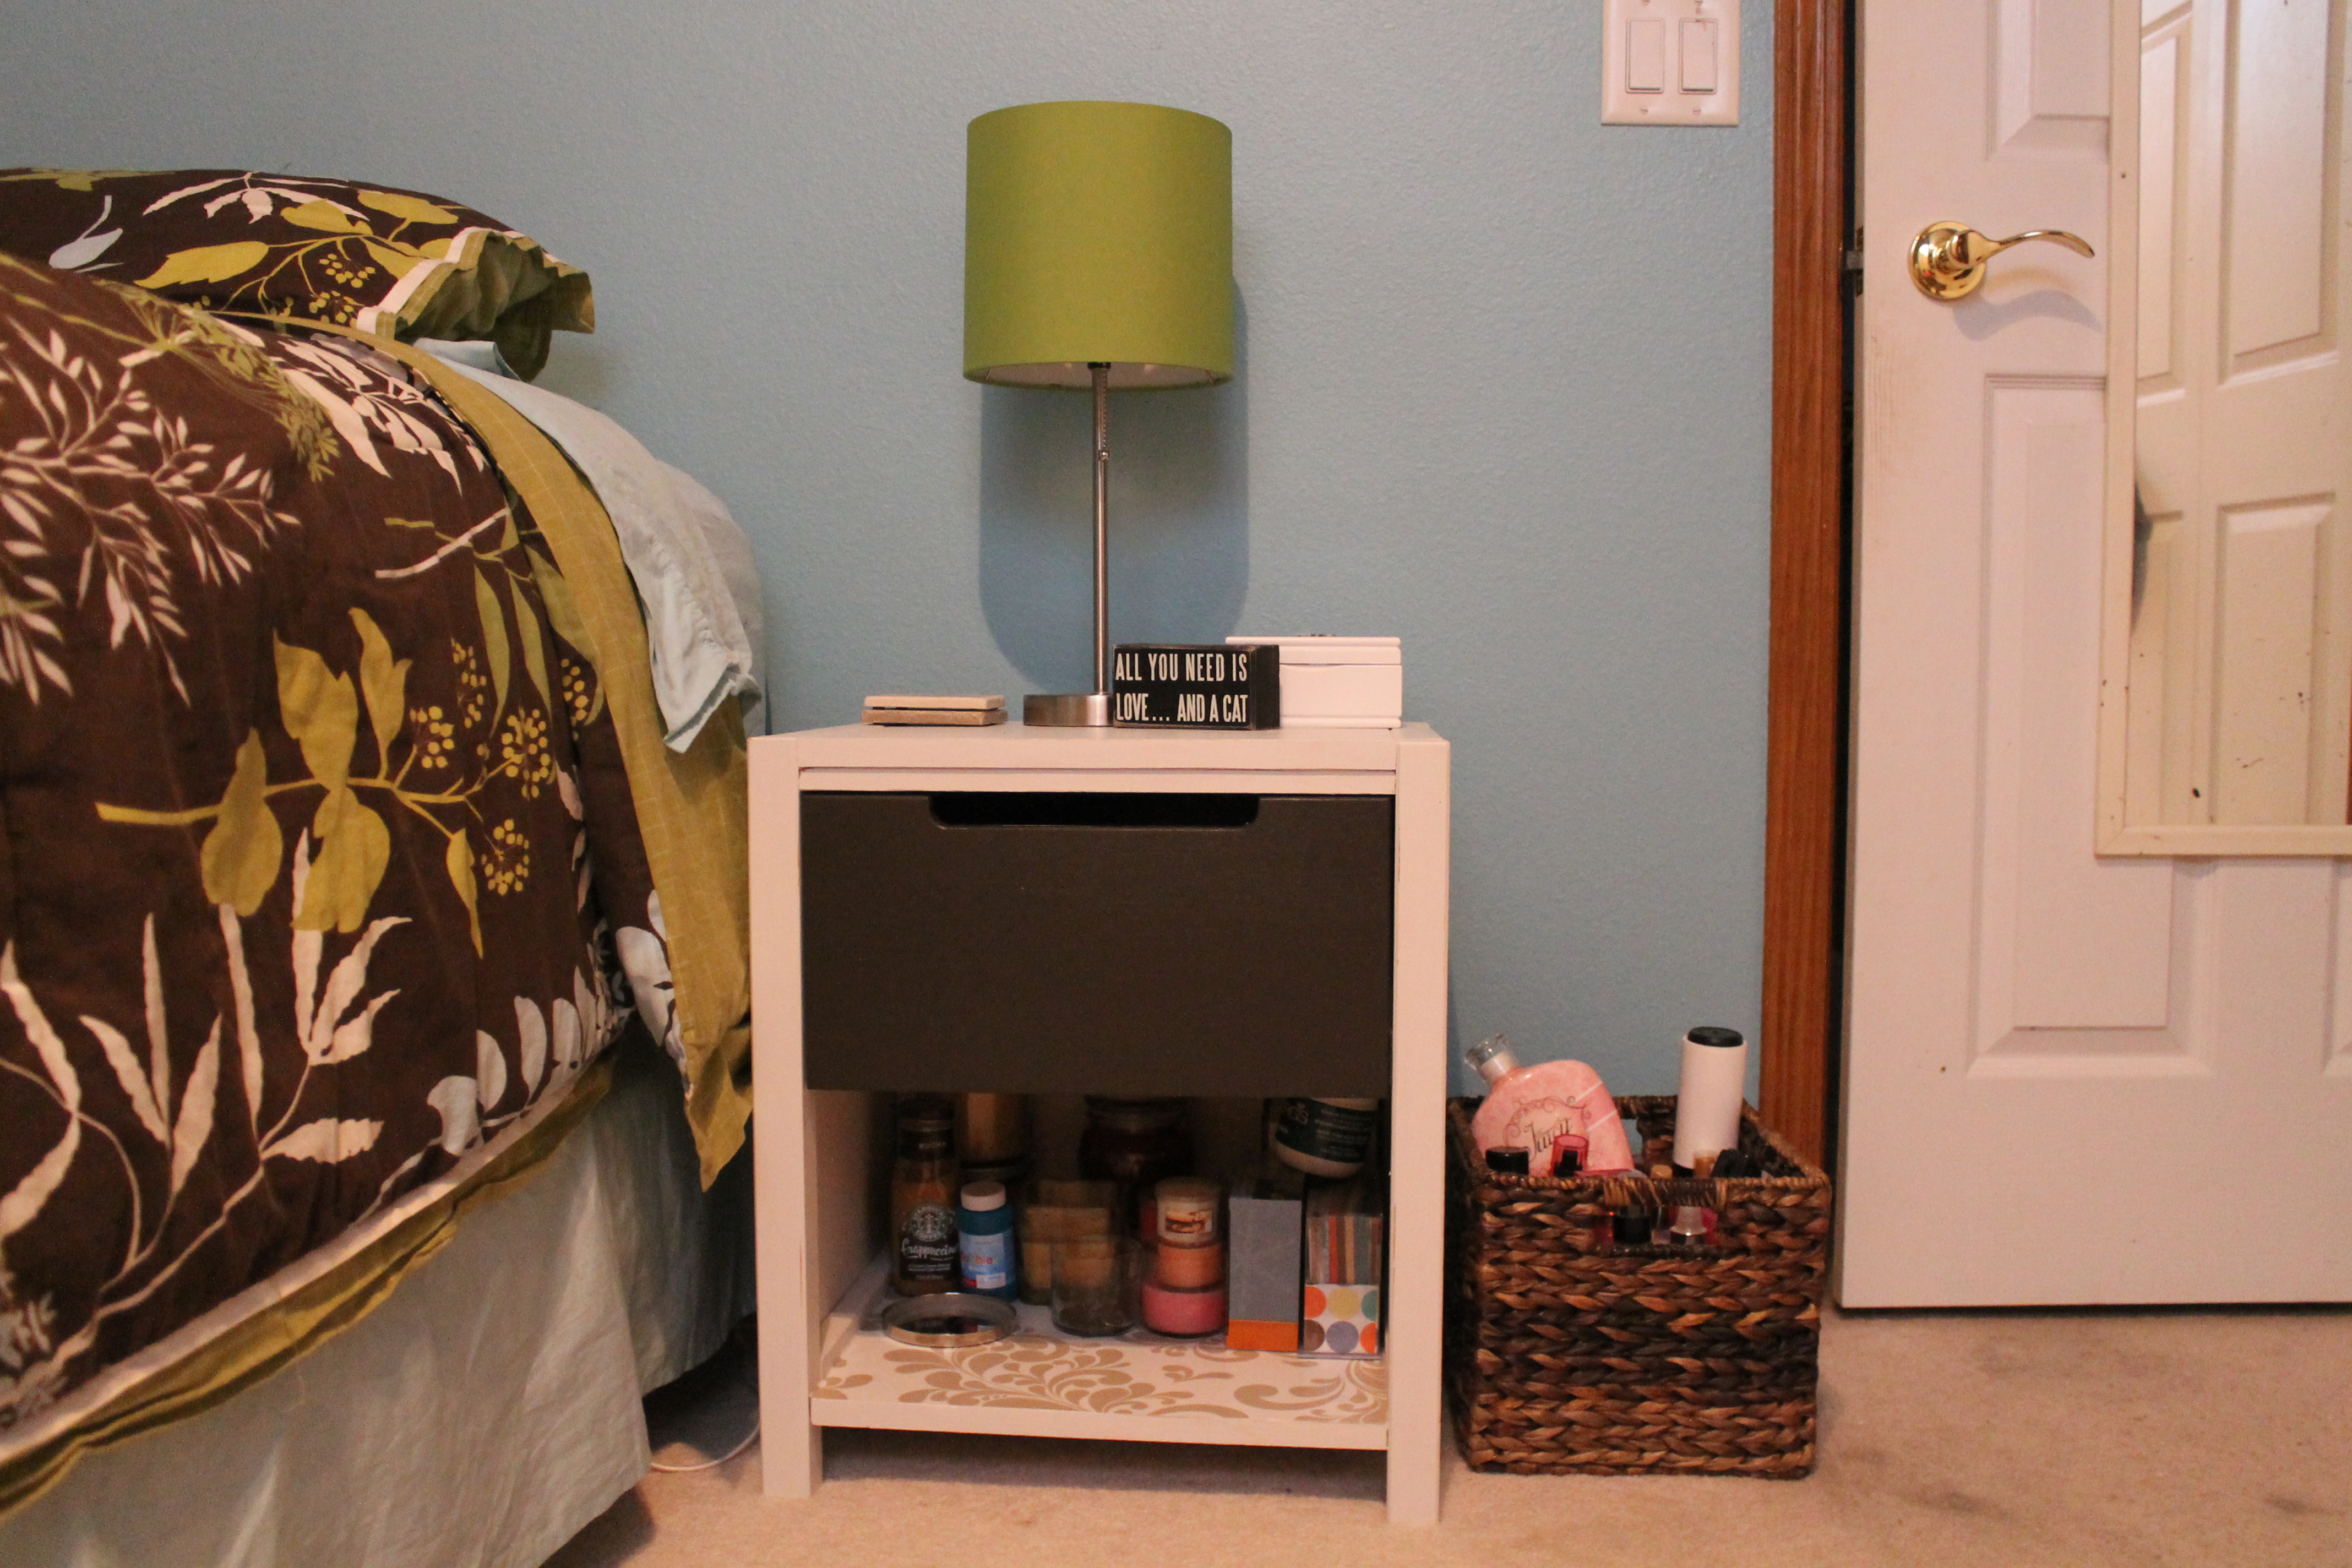
Went with the brown top, before distressing.
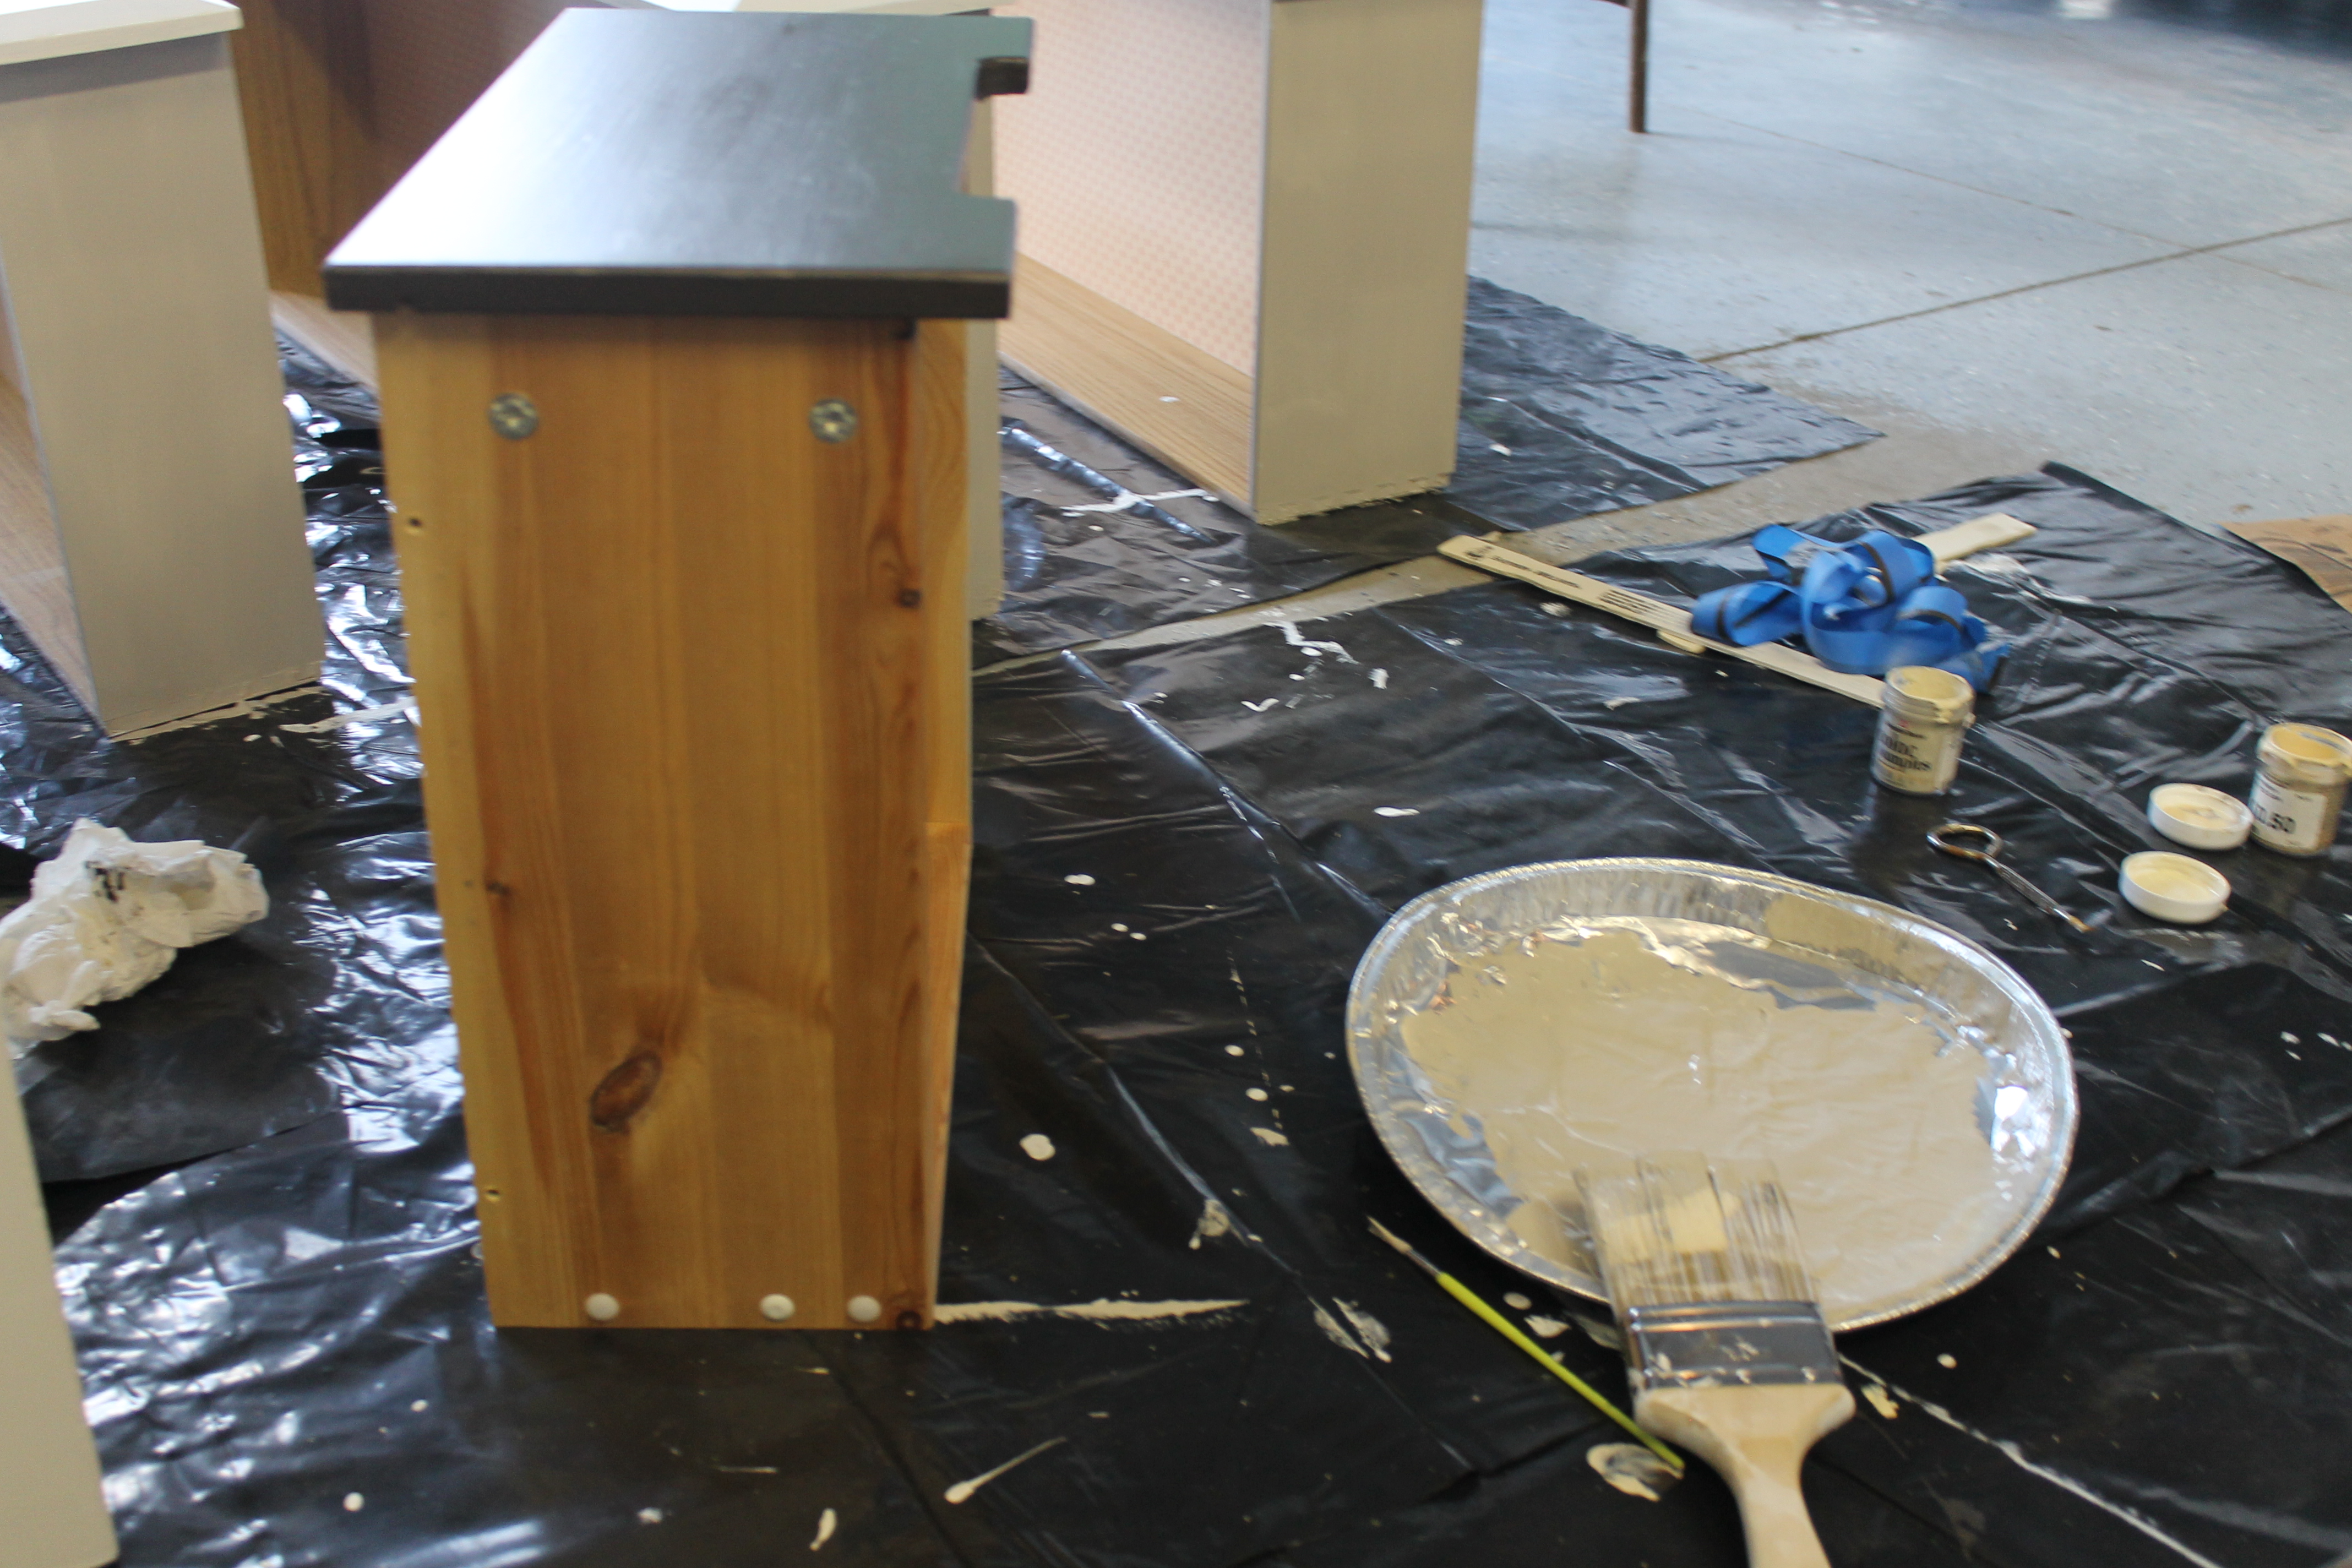
50 cent paint samples turned out to be an experiment of mixing for the sides of the nightstand.

Sand paper lightly rub and comes right off! So cool. So worth not paying for chalk paint.
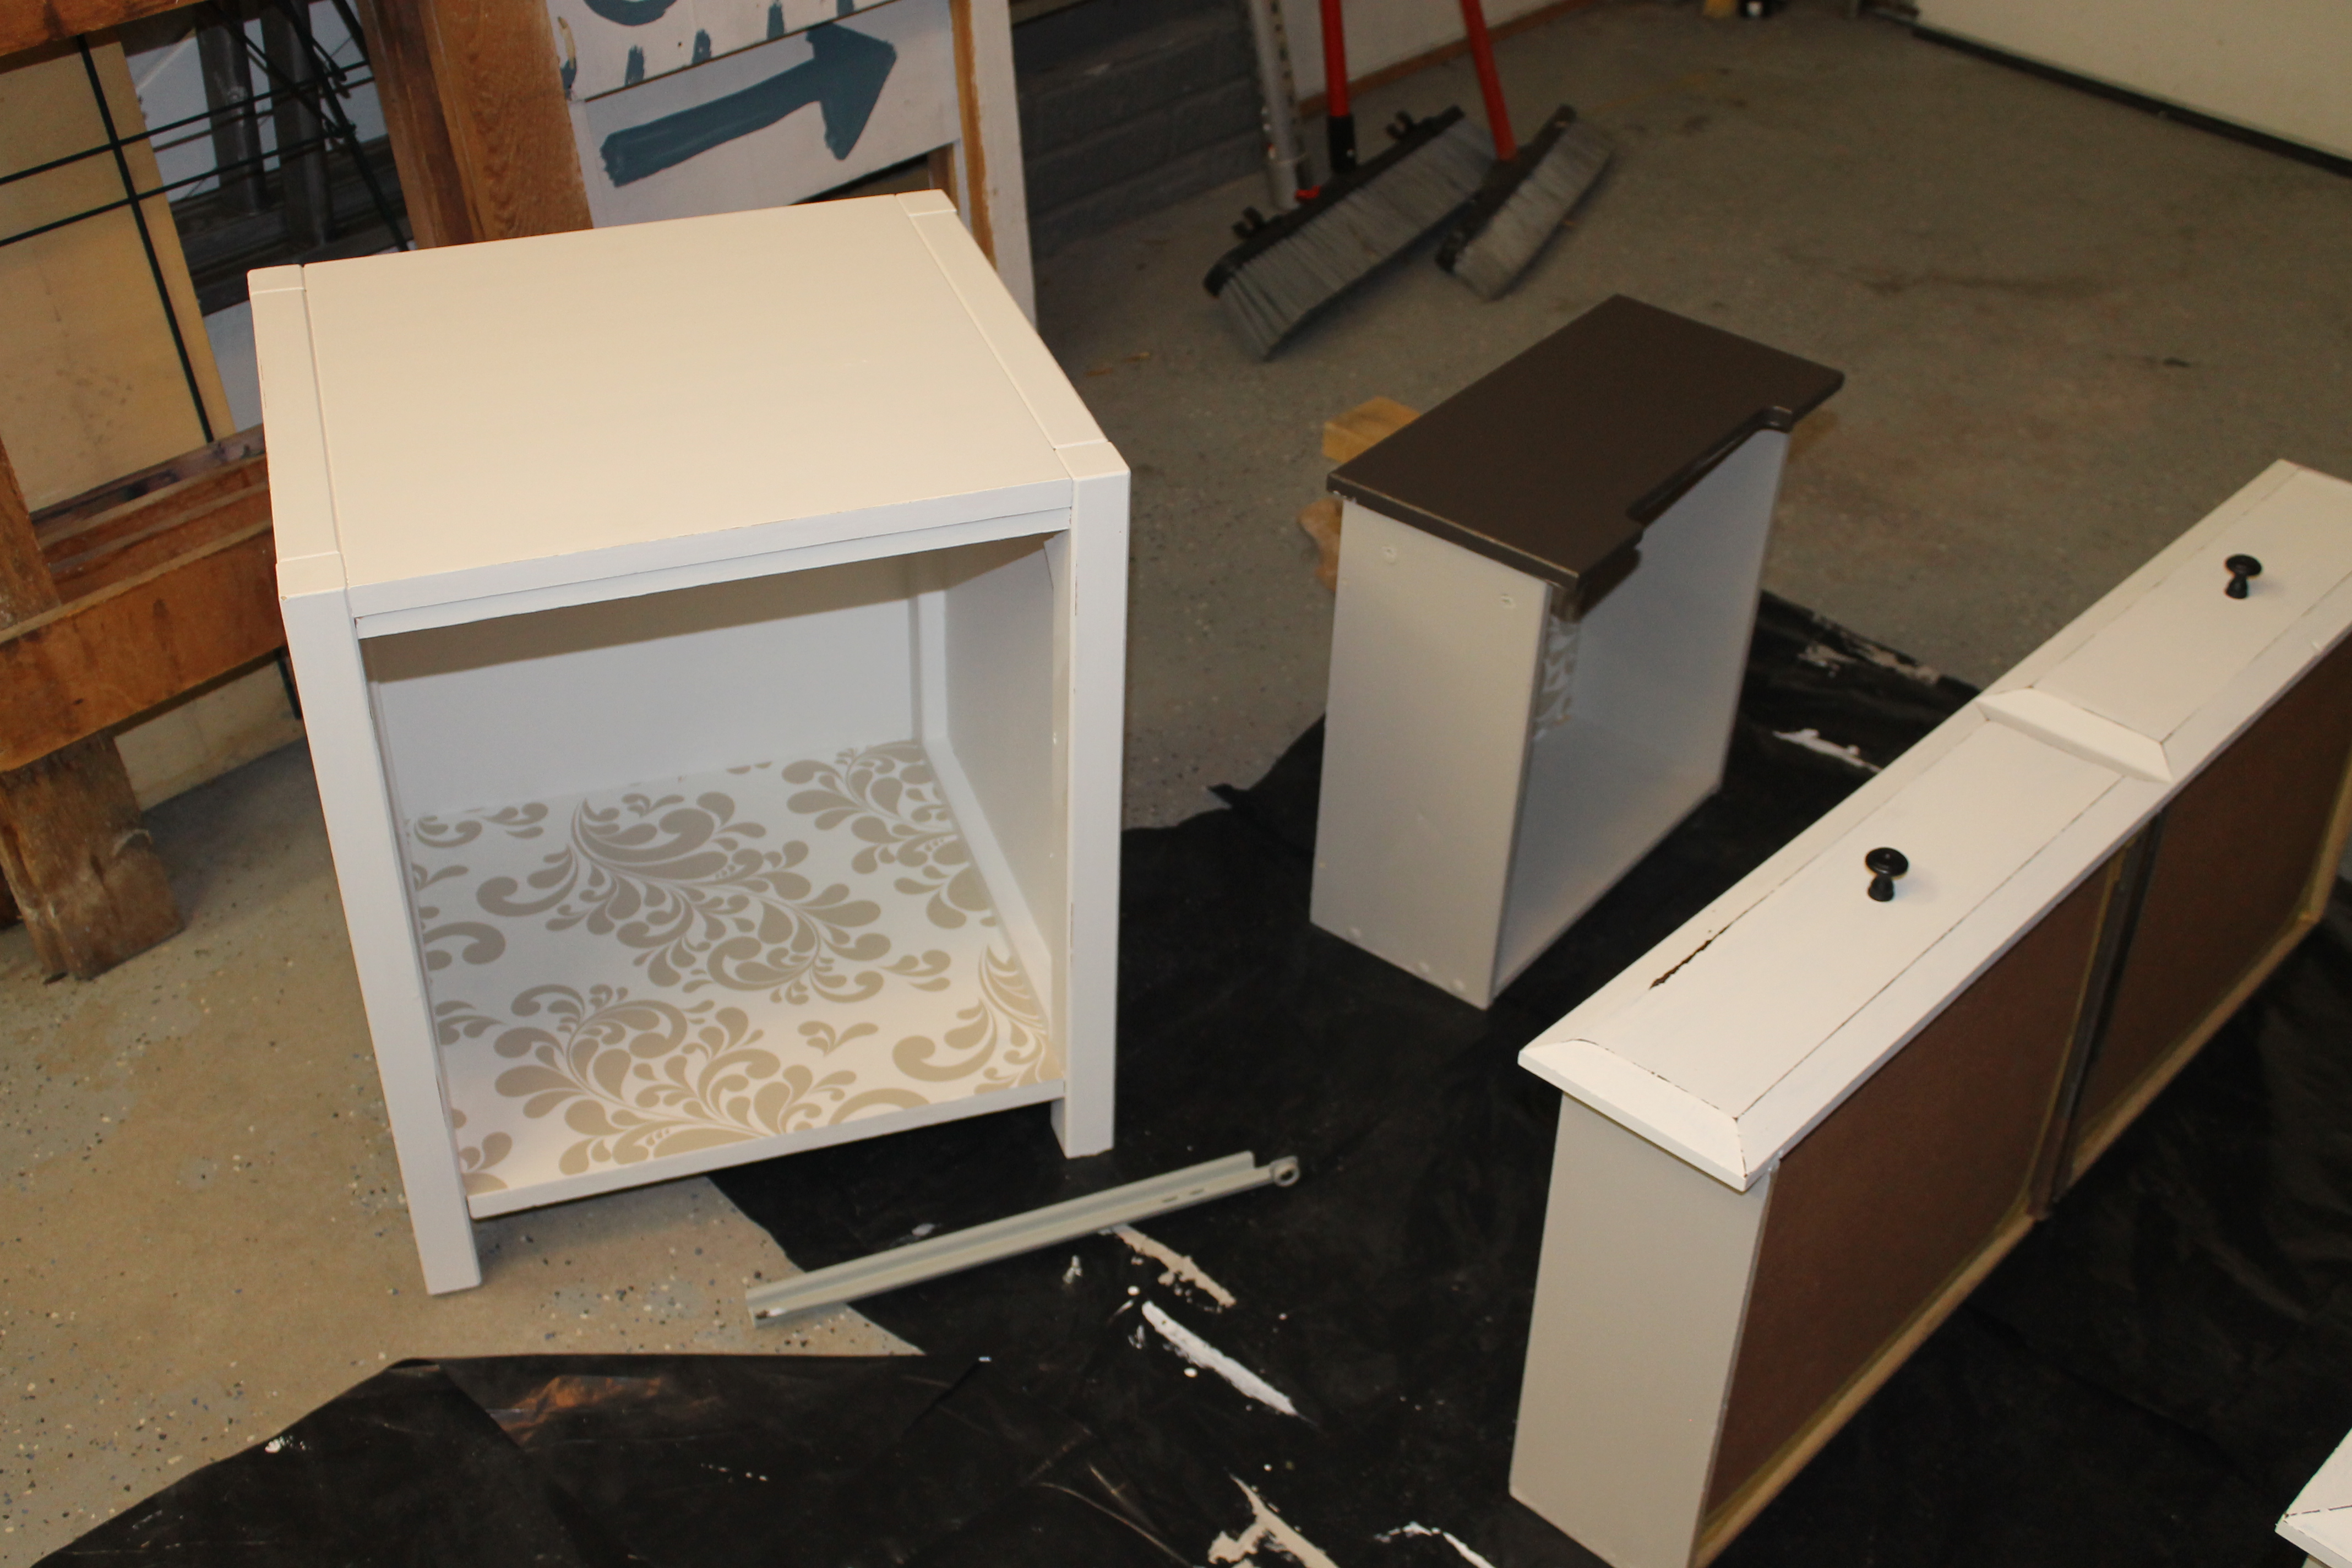
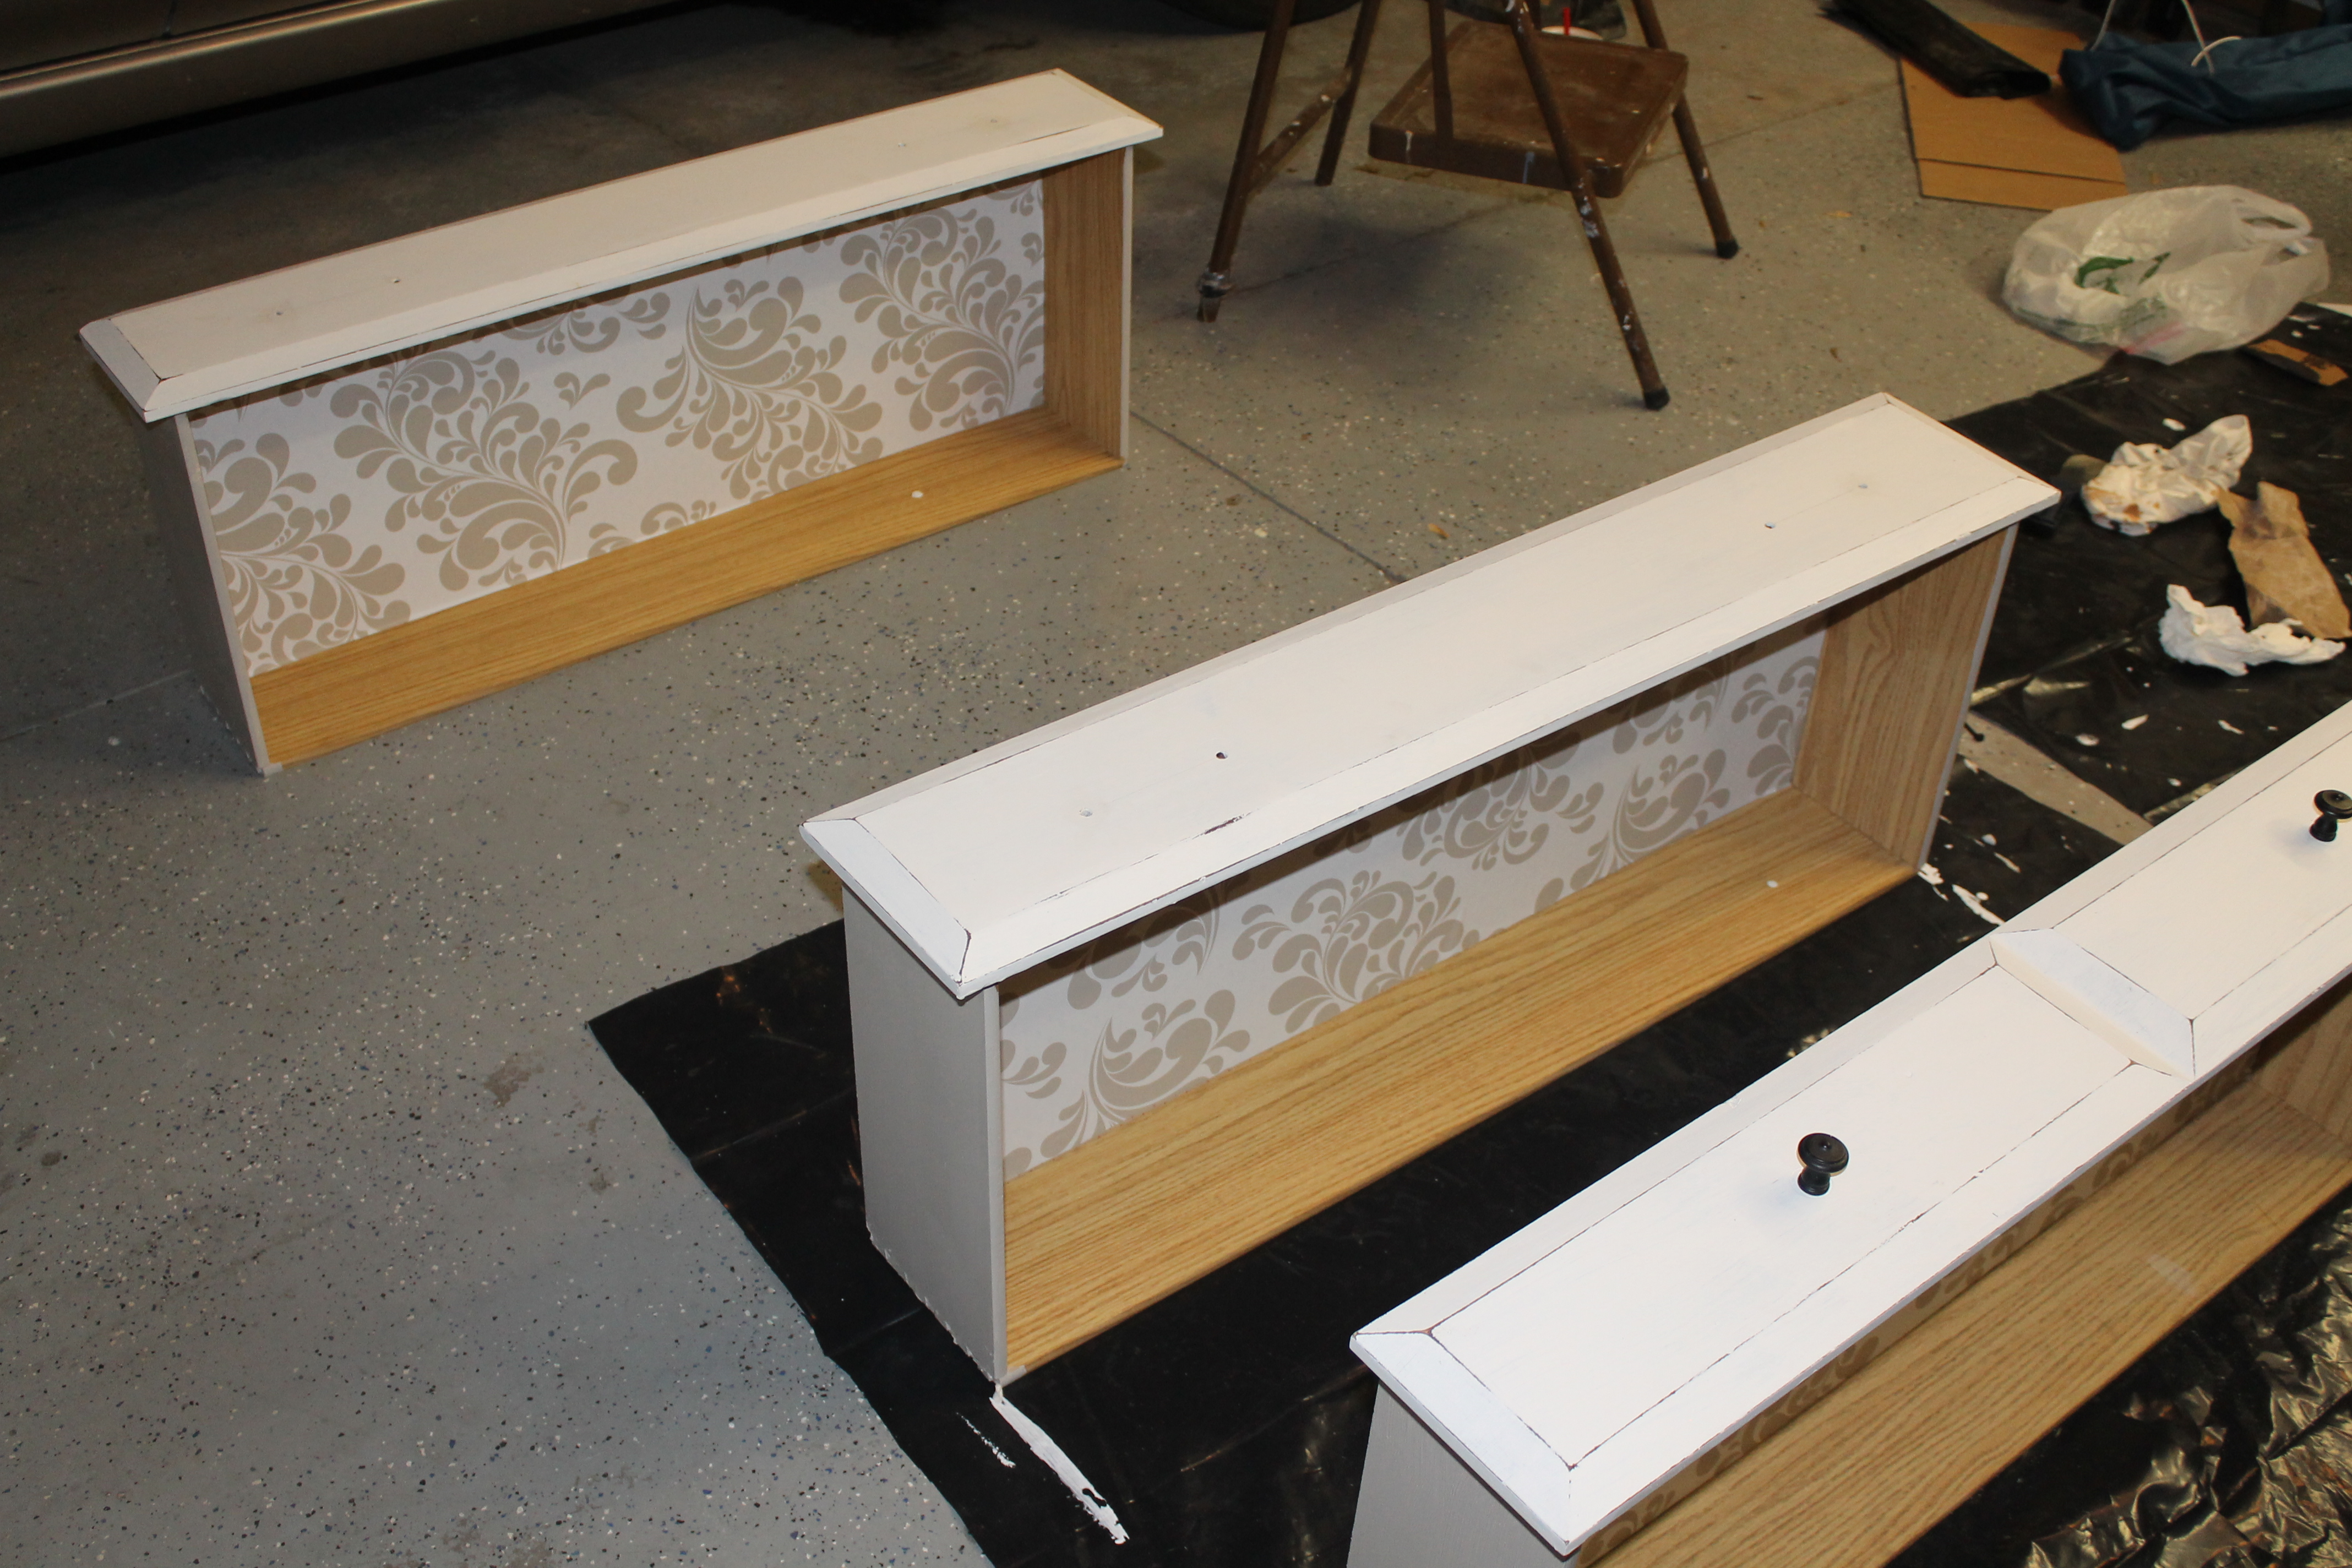
Added patterned parchment paper to the insides of both the dresser drawers and the bottom of the nightstand.

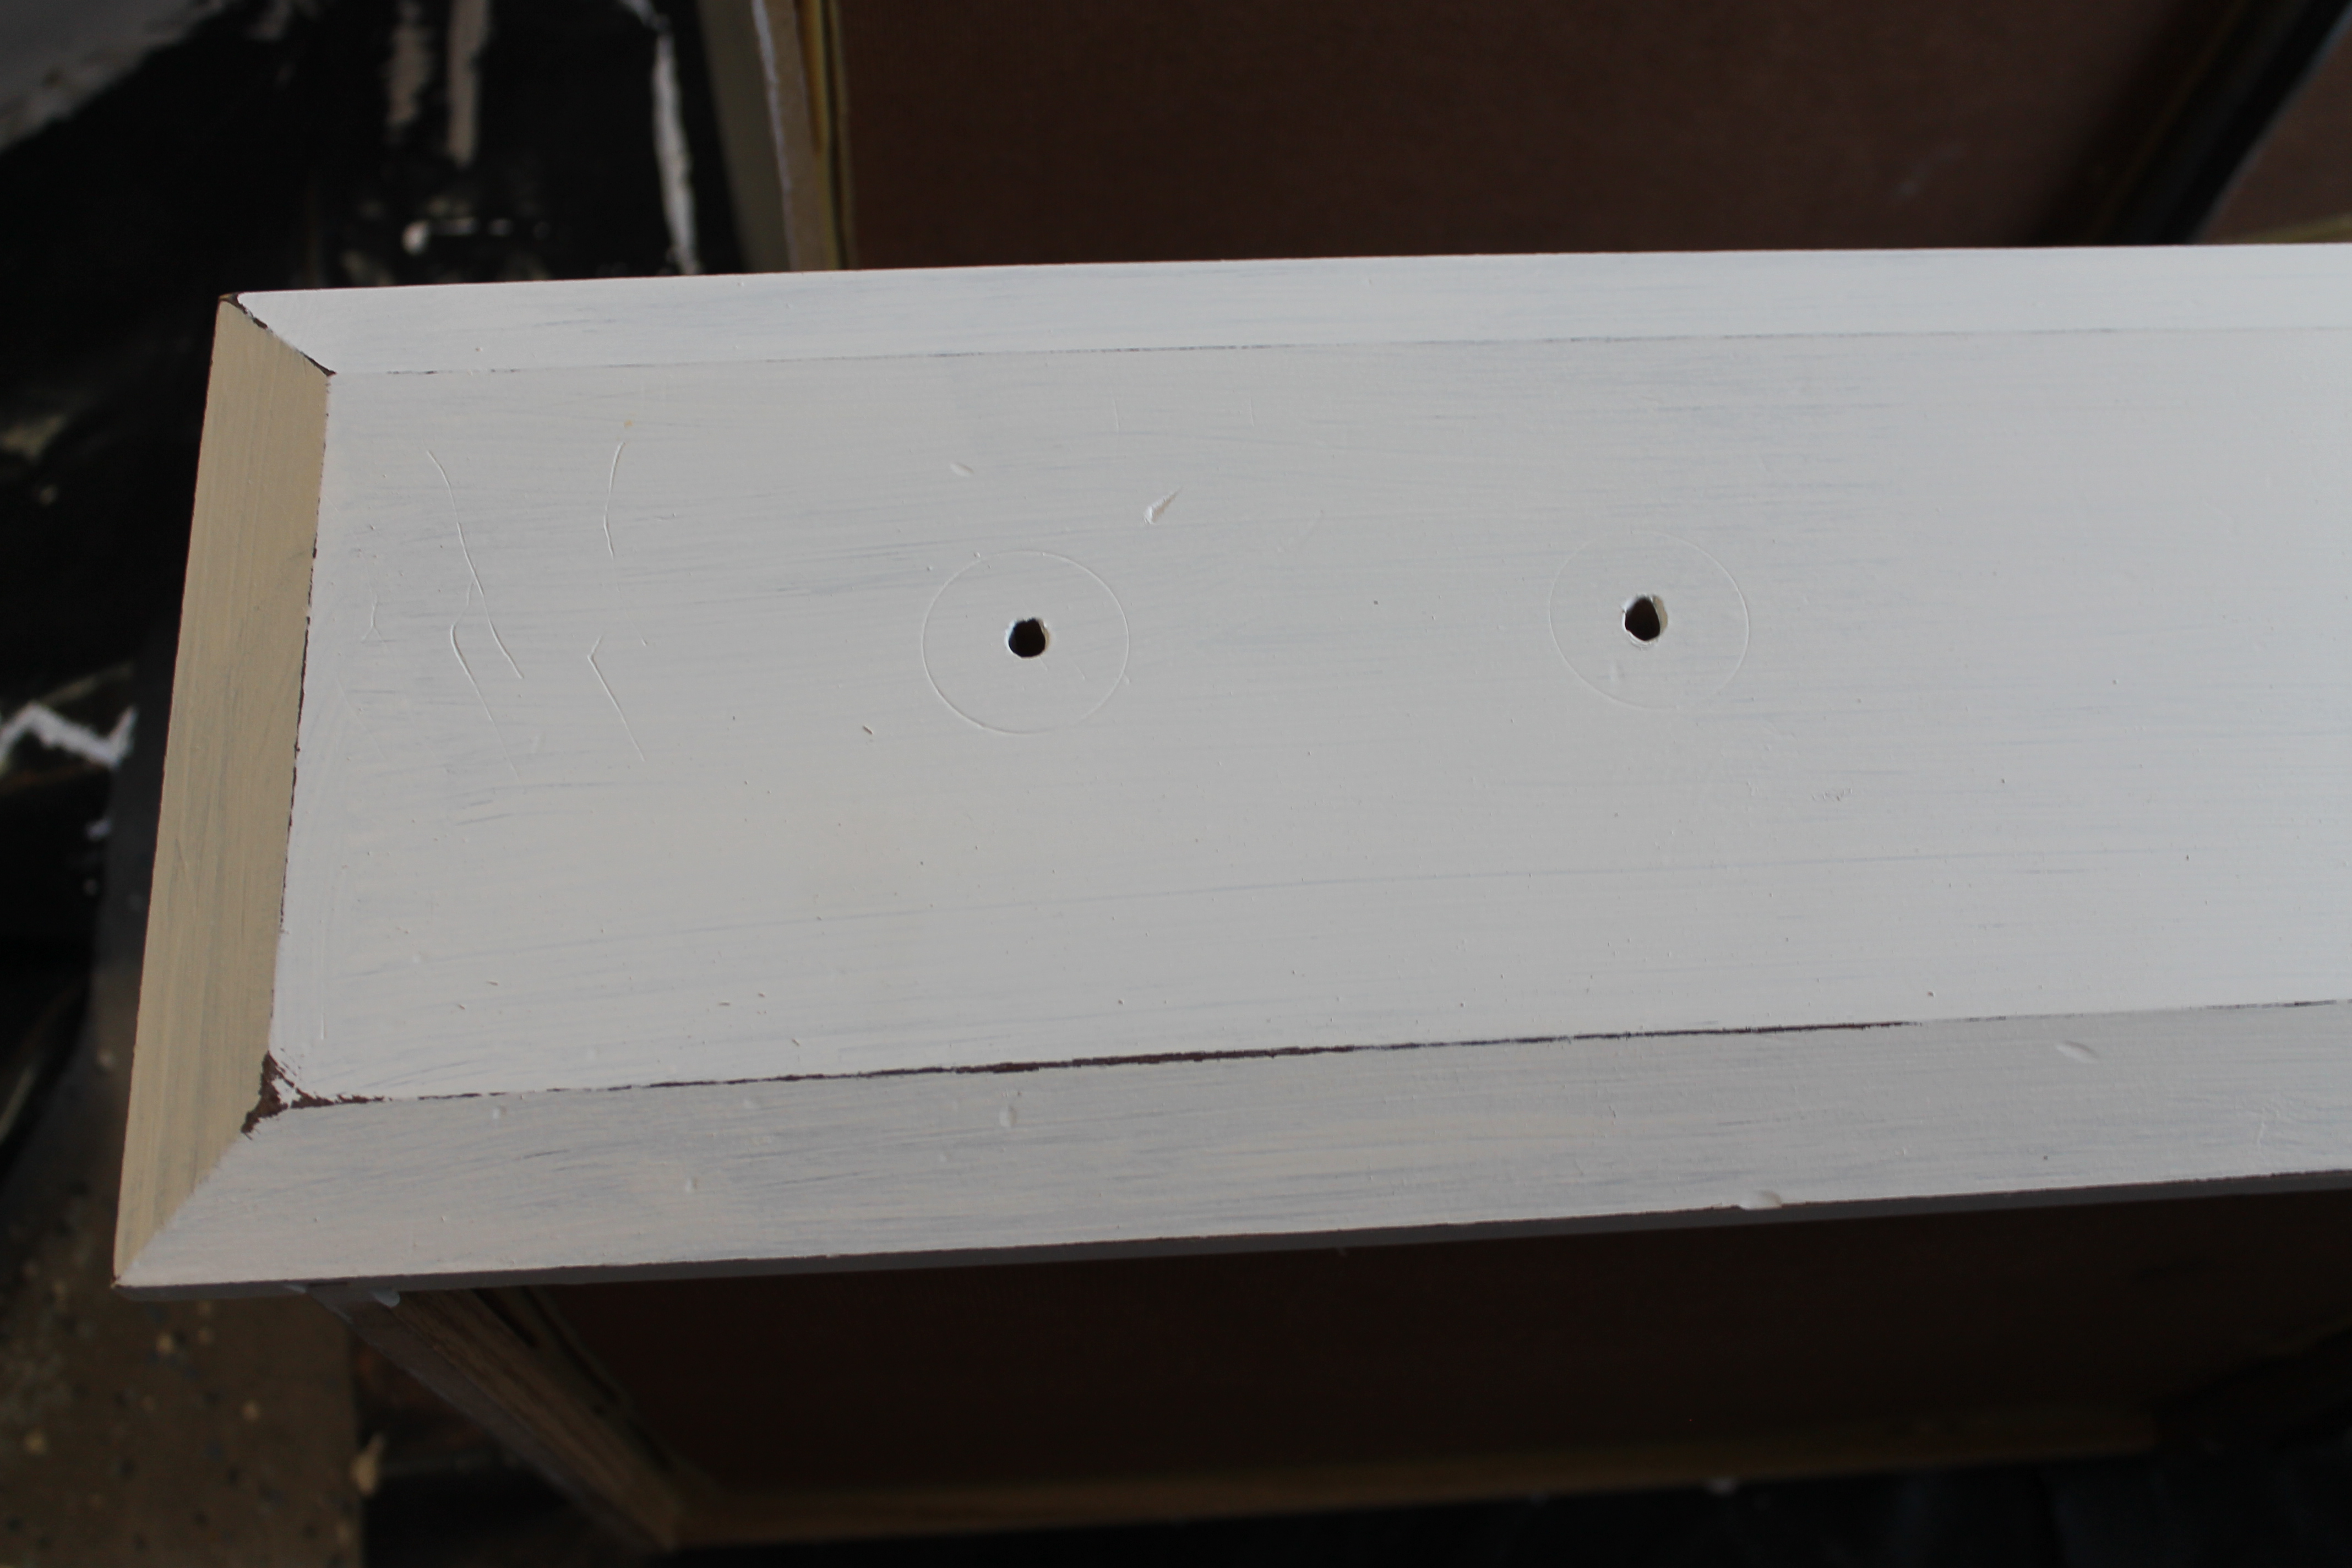
Found black hardware at the Re-Store and fell in love with the detail. Unfortunately, the holes from the old hardware were too far apart. Nothing a trip to Menards couldn’t fix. I did not find any that were anywhere near as cool, so I took the matter into my own hands; buying wood filler, filling in one of the holes, sanding, re-painting, and screwing in my CUTE handles.


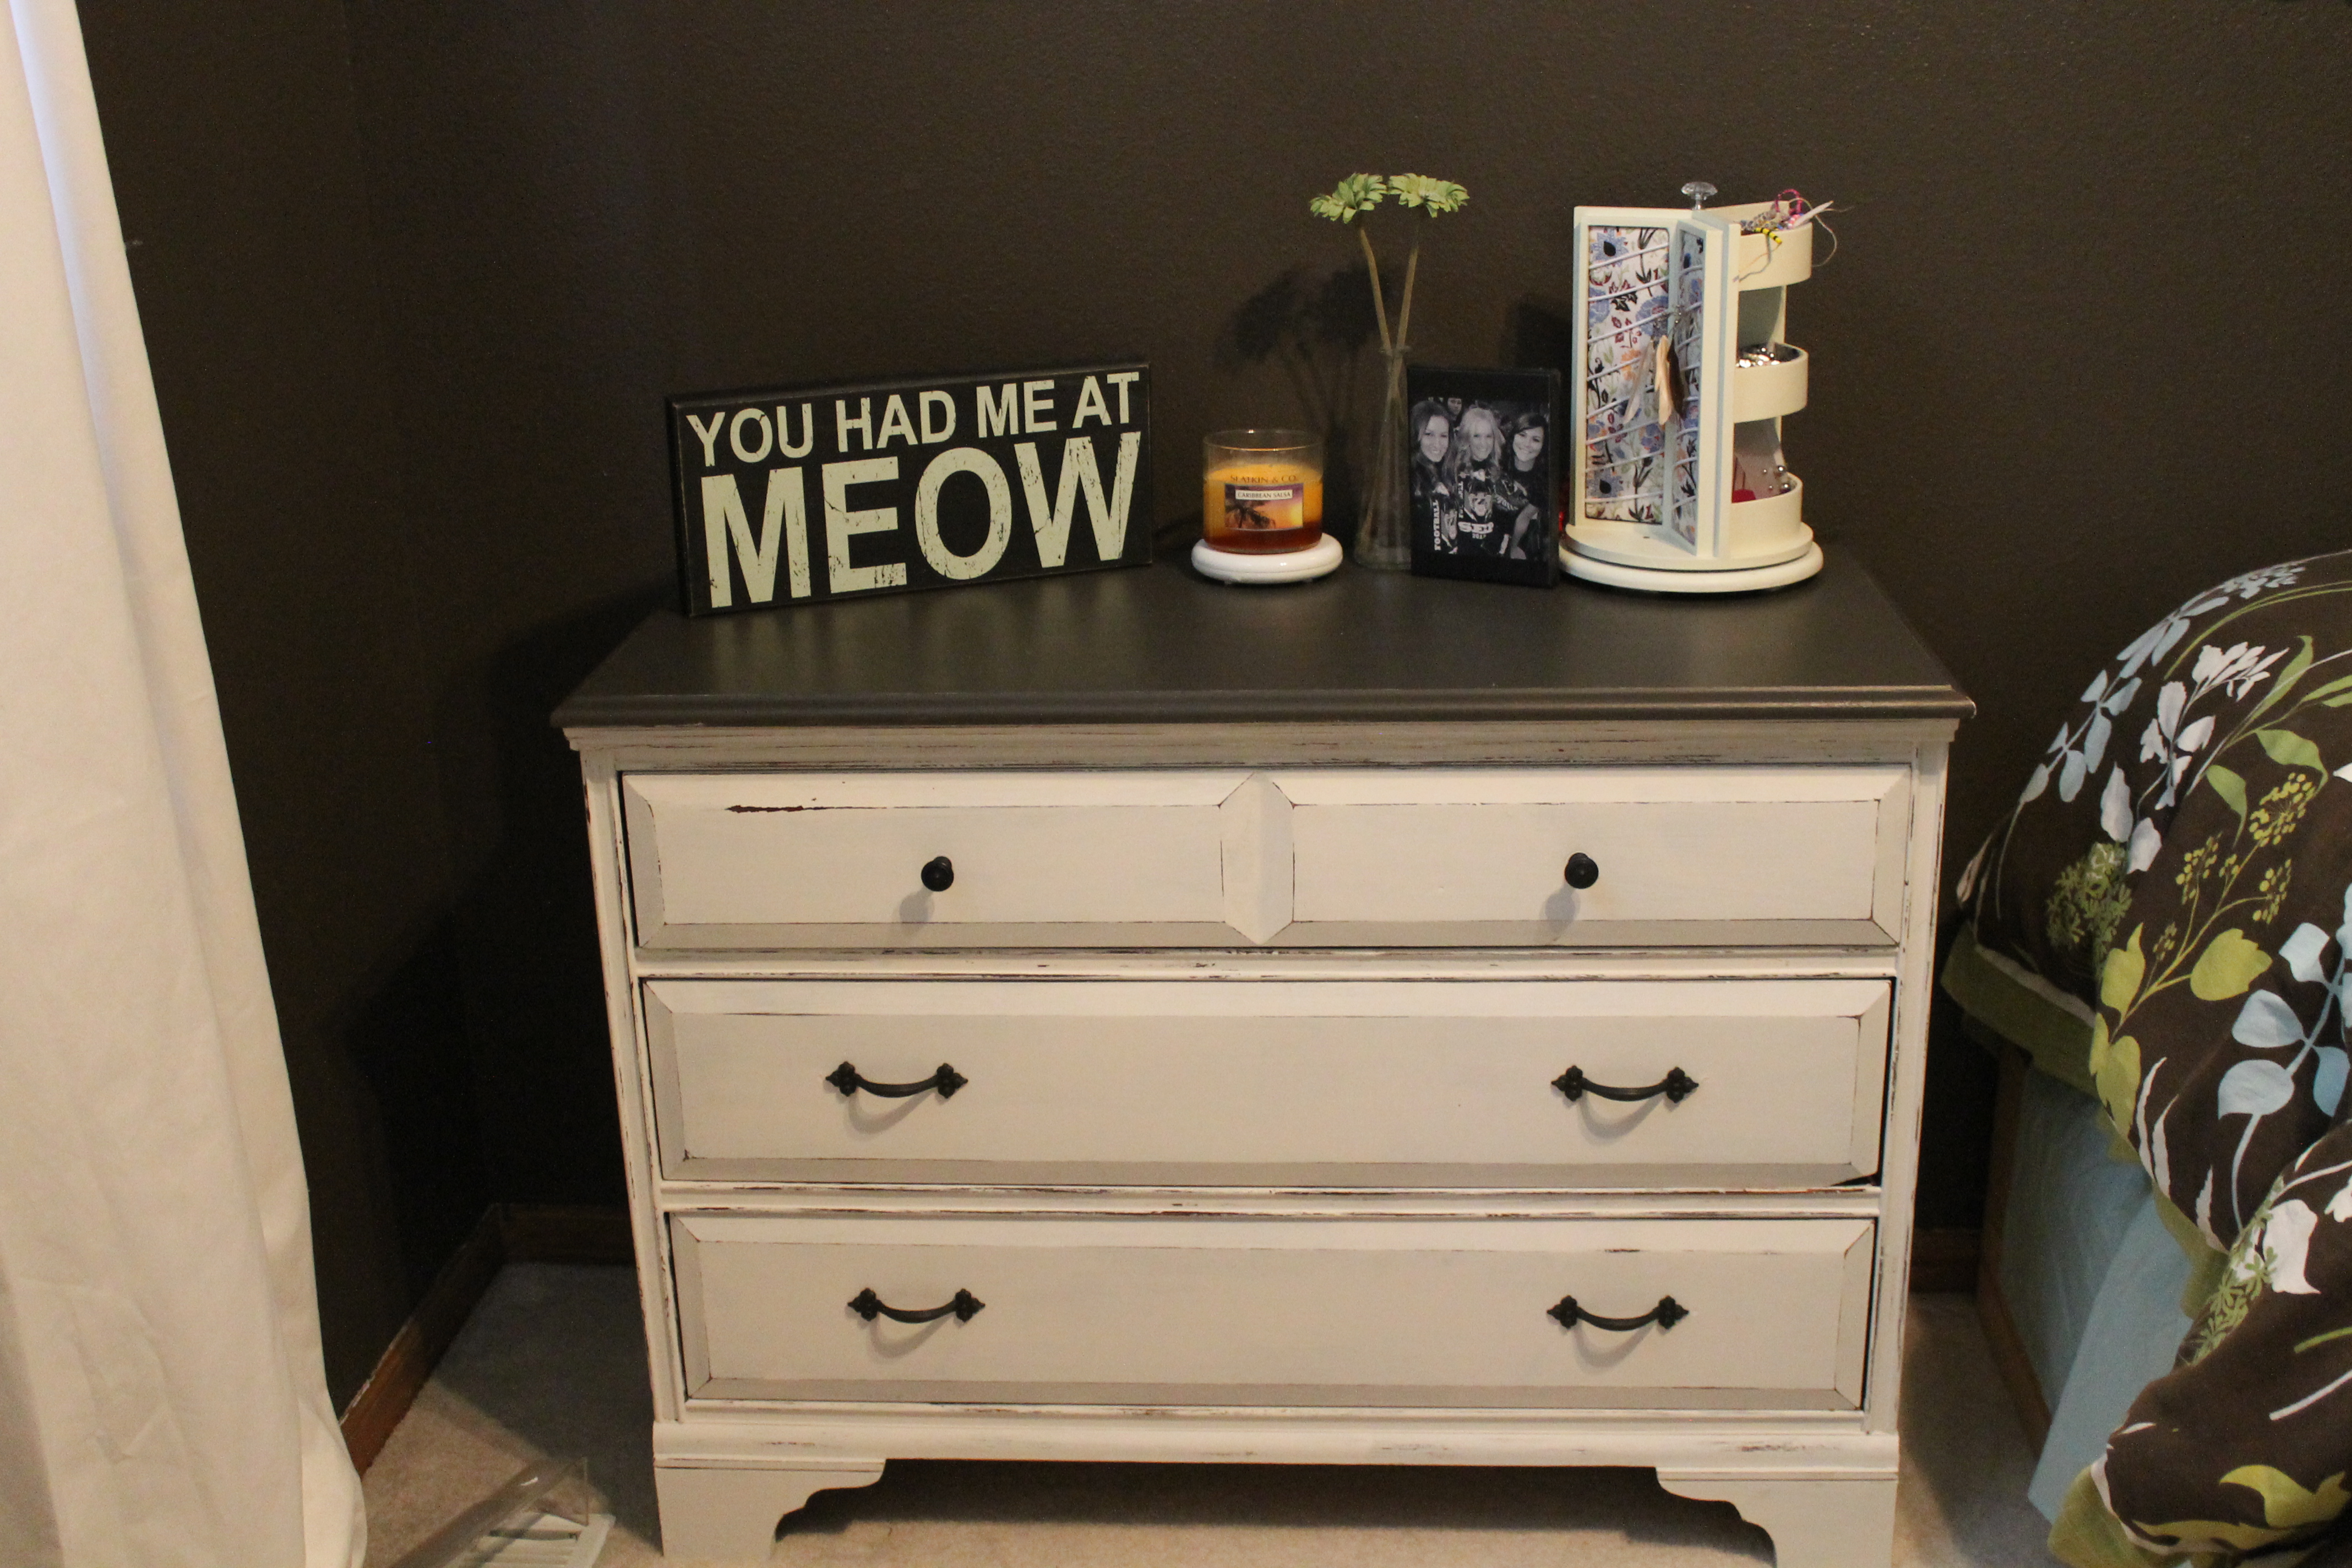
FINISHED. I highly recommend priming, flat paint, and sanding for the distressed look. Don’t pay for expensive chalk paint. I am so happy with how they turned out and am so excited to show it off in my room.
I now have the urge to distress everything in my house, however Mom said no.


LOVE this! They turned out beautifully!!!
I will have to remember your trick, I am all about the bargains….
You’ll have to share how to add “subscribe” to her blog so we can get new ones in our inbox like we do your 4littlefergusons!!! We can’t figure out how to add that feature!!